Pop-Up Cards
Hier geht's zum ARTIKEL AUF DEUTSCH
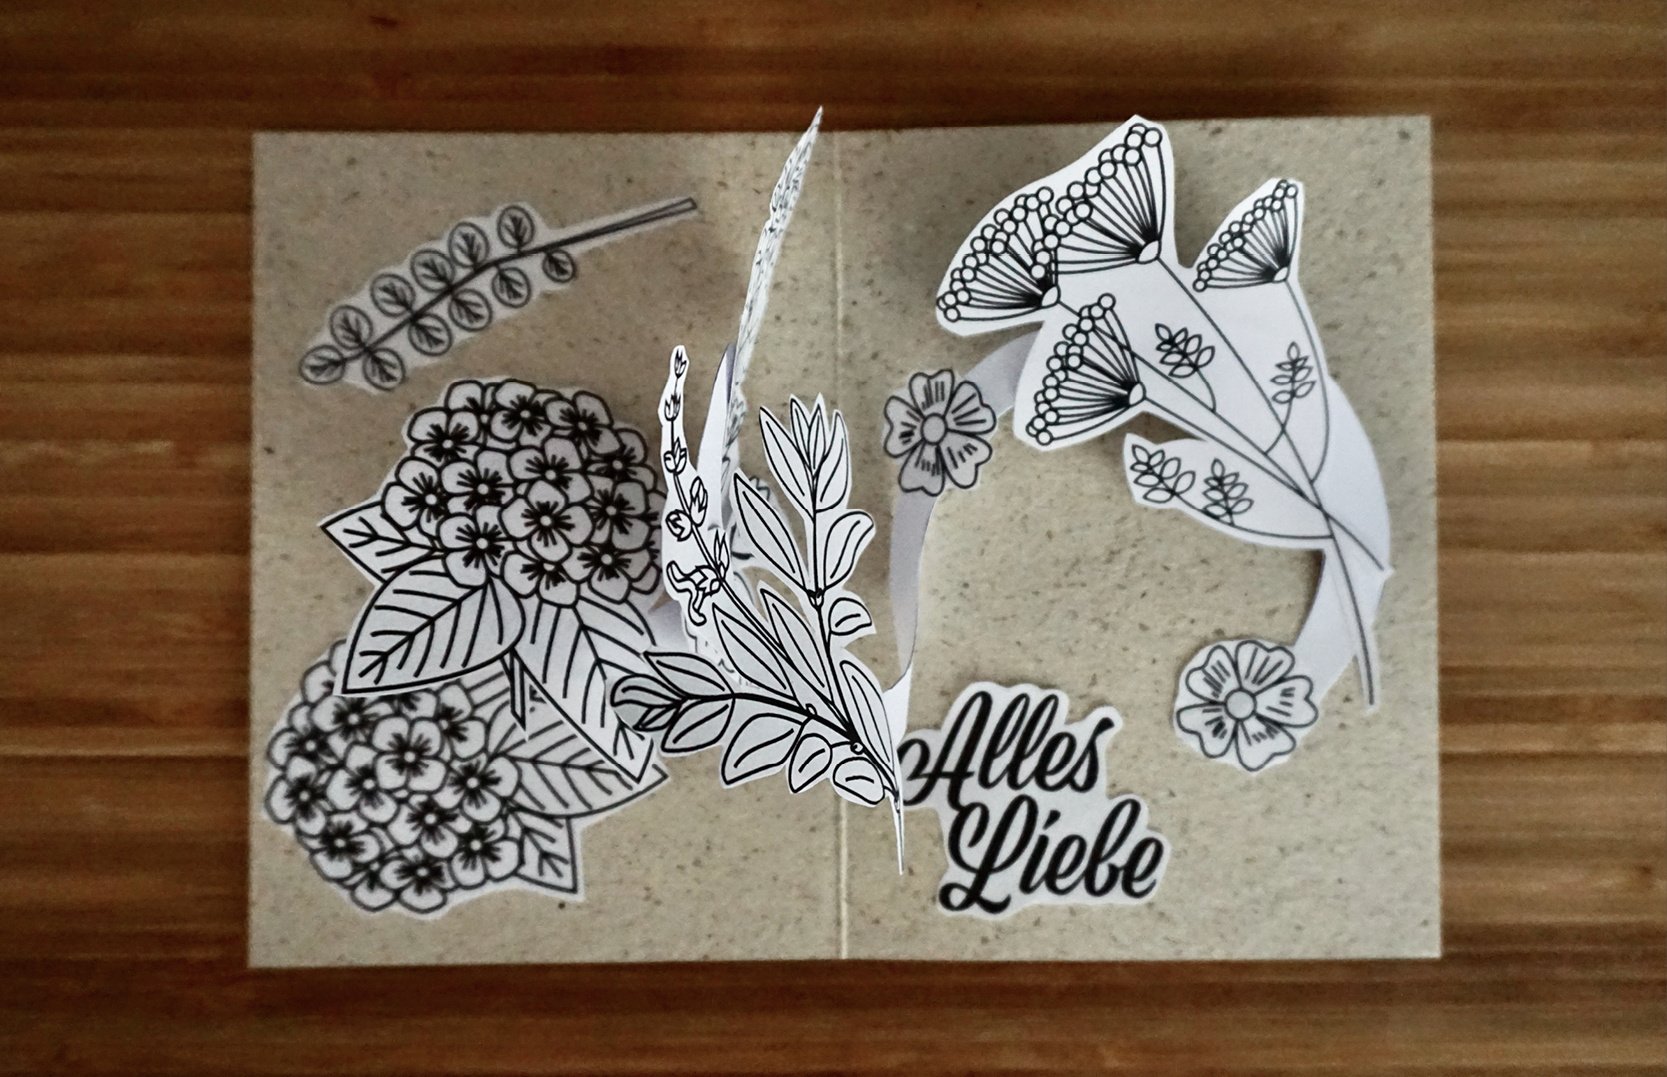
Here’s a pop-up card for you that’s super easy to make and leaves plenty of room for your own creative design. You can download free templates further down the page. Have fun crafting!
There are templates for two versions: a summer pop-up card and a Christmas pop-up card – each available for scissors or cutting machine. The assembly process is the same for both.
At the very bottom you'll find ideas on how to design the card for many occasions! I'm talking Christmas, Halloween, Mother's Day...
Pop-Up Christmas Card Challende Winter 2025in collaboration with LOVEPOP. Post a homemade, Christmas-themed pop-up card (this one or another) in a story, post, or reel on Instagram by November 25th and tag @lovepop.de and/or @miom_studio.de. This way, you have the chance to win one of four packages of amazing pop-up cards! Alternatively, you can also email me a photo. Check out my Instagram Reel and caption for more information! |

Free Download
Files for cutting by hand
The templates are saved in PDF format and you are welcome to download them for free:
Files for cutting mashines
Thank you, Plottertante Miriam for creating these files!
svg.-files
Template for summer flowers (.svg)
All summer-svg.- plus .studio3-files
via Google Docs: Templates for summerflowers and Spirals
Plotter-files for Christmas cards (svg.- plus .studio3)
Download plotter-files "Popup Christmas" (.zip-file)
My Pop-Up Cards on YouTube
> You can find a video tutorial for the pop-up Christmas card here.
> In 2022 Plottertante Miriam invited me to join her for a live online session to make pop-up cards together with you – and to have a nice chat while crafting. You can find the video on Miriam's YouTube channel.
Instructions
I’ll show you here how to craft the pop-up card. You can find inspiration for your very own pop-up card at the very bottom of this page.
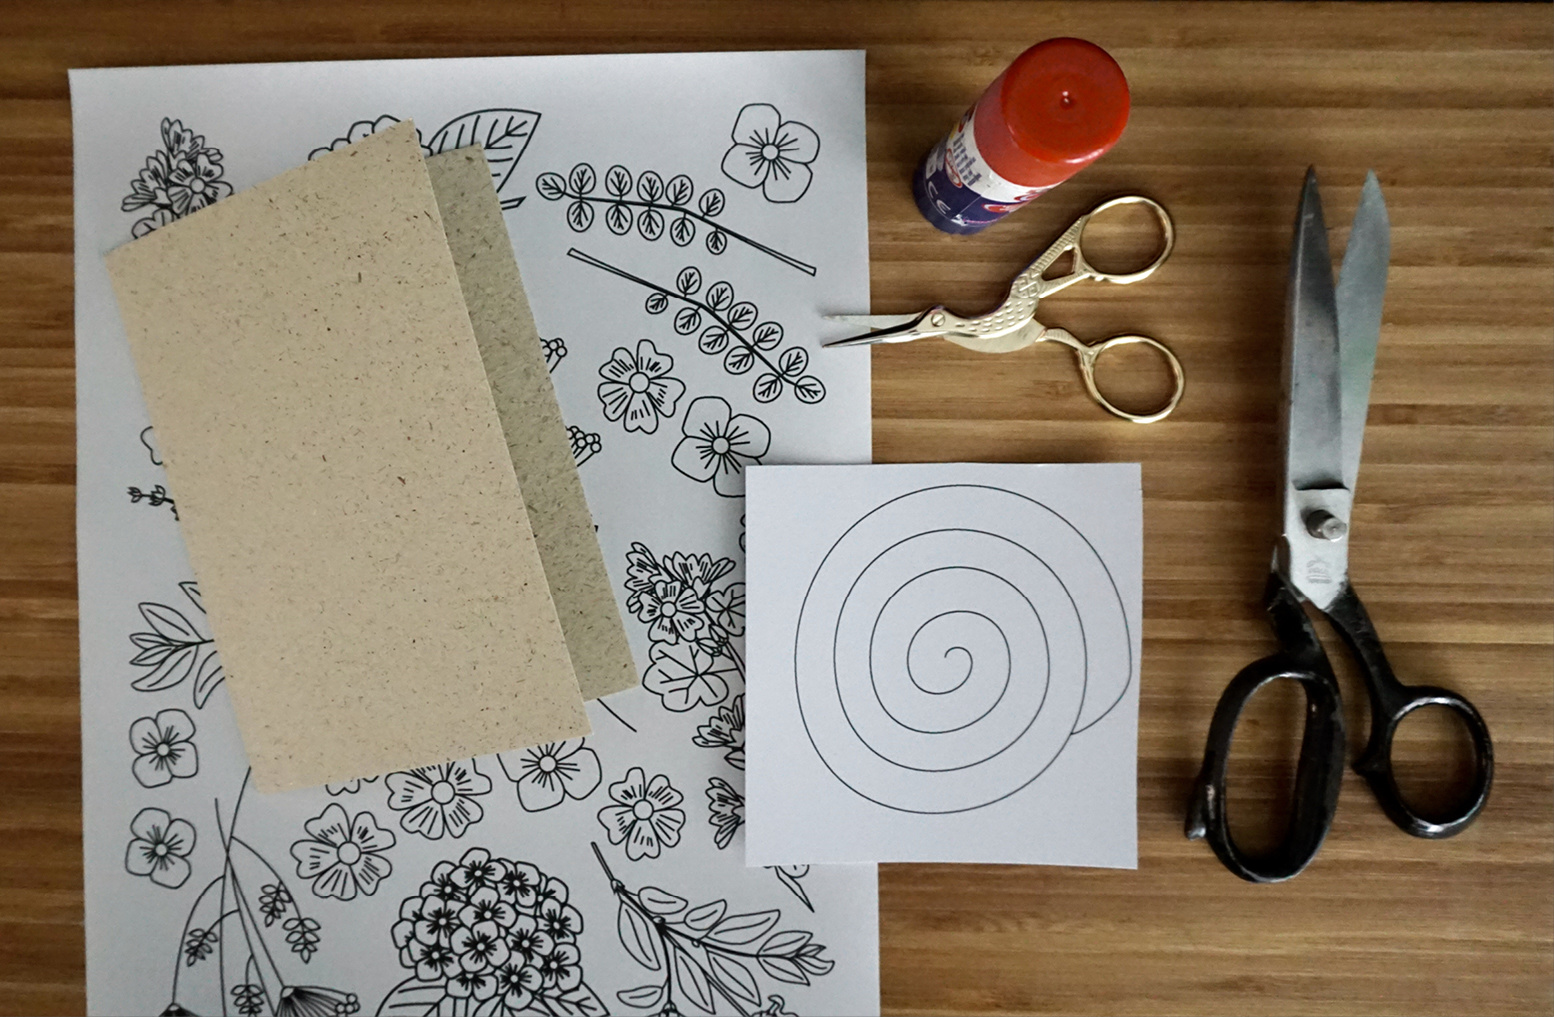
Here's what you'll need:
Here's what you'll need:
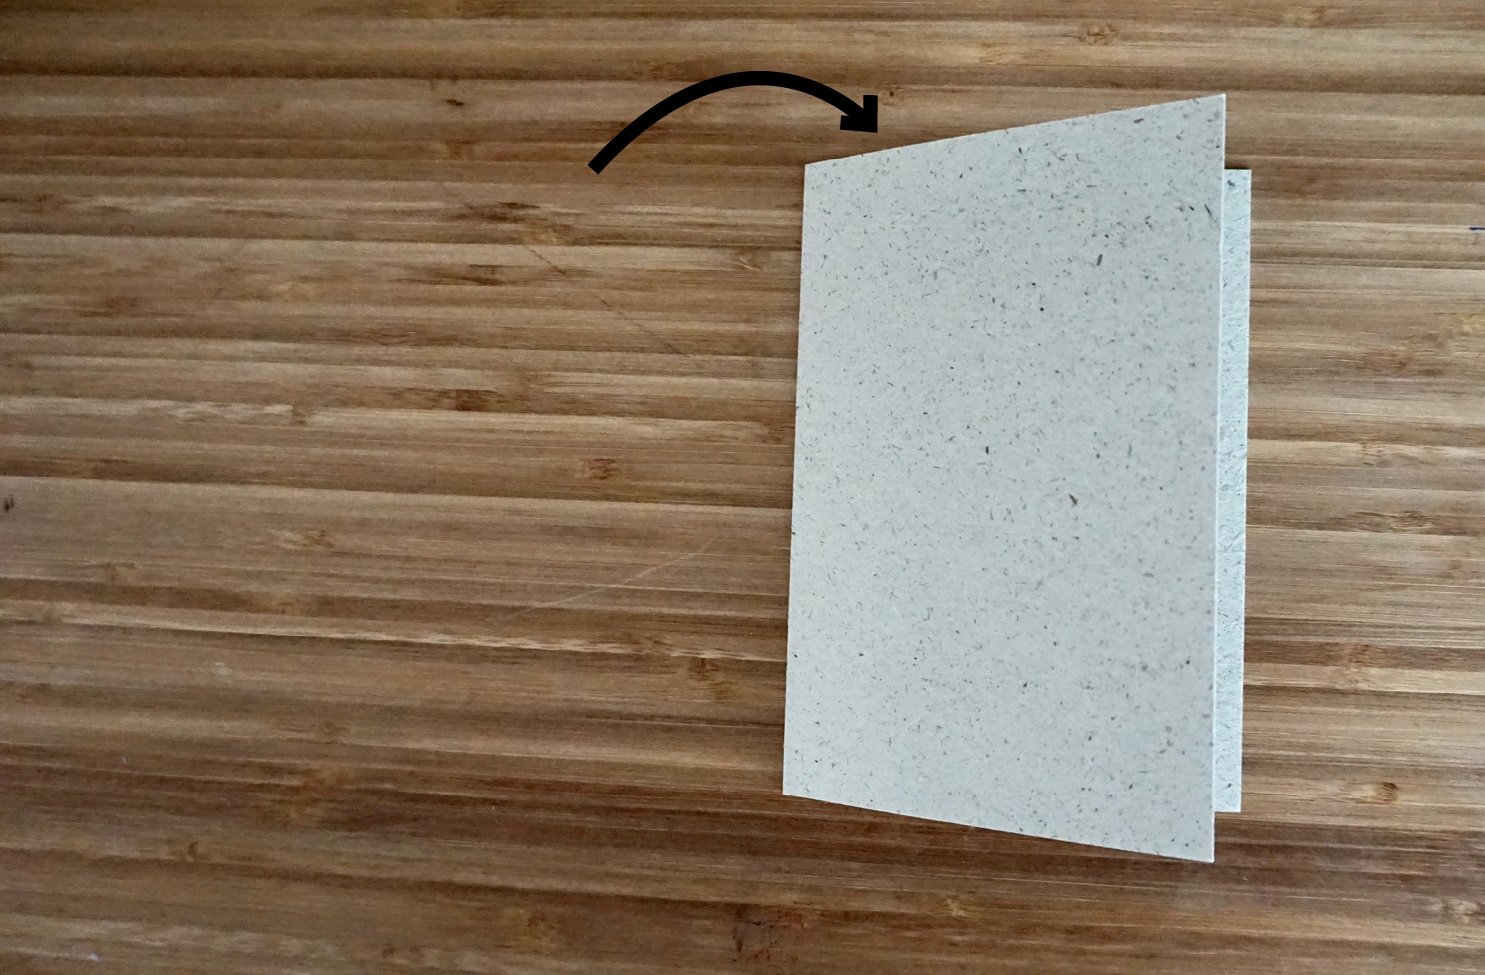
> A6 folding card (standard size), vertical
> A printed "Summer Flowers" template (or your own graphics) and optional text designs
> A printed spiral template
> Glue stick
> Optional: two glue dots
> Scissors
Tip: Use a heavier paper for the spiral – check what your printer allows. Sturdy paper will make your card more durable.
Ready? Let's get started!
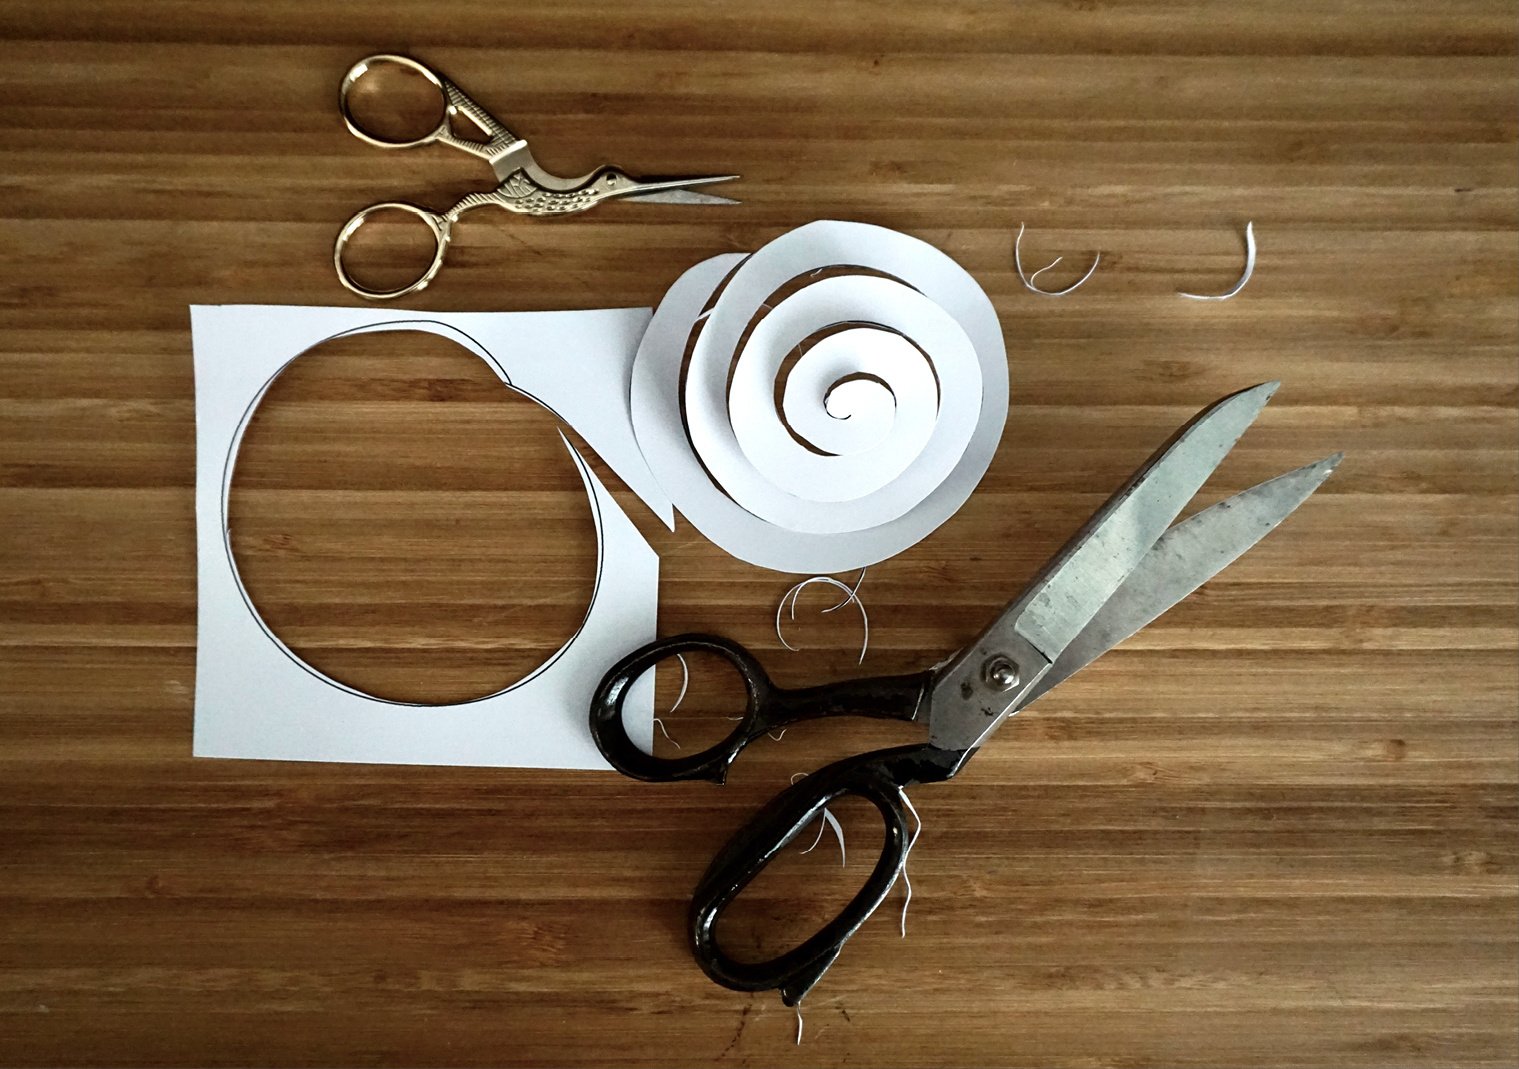
1 Cut out the spiral along the black line. You can remove the black edges later with finer scissors. It's not a problem if a bit of black is still visible; you can cover it with pictures later.
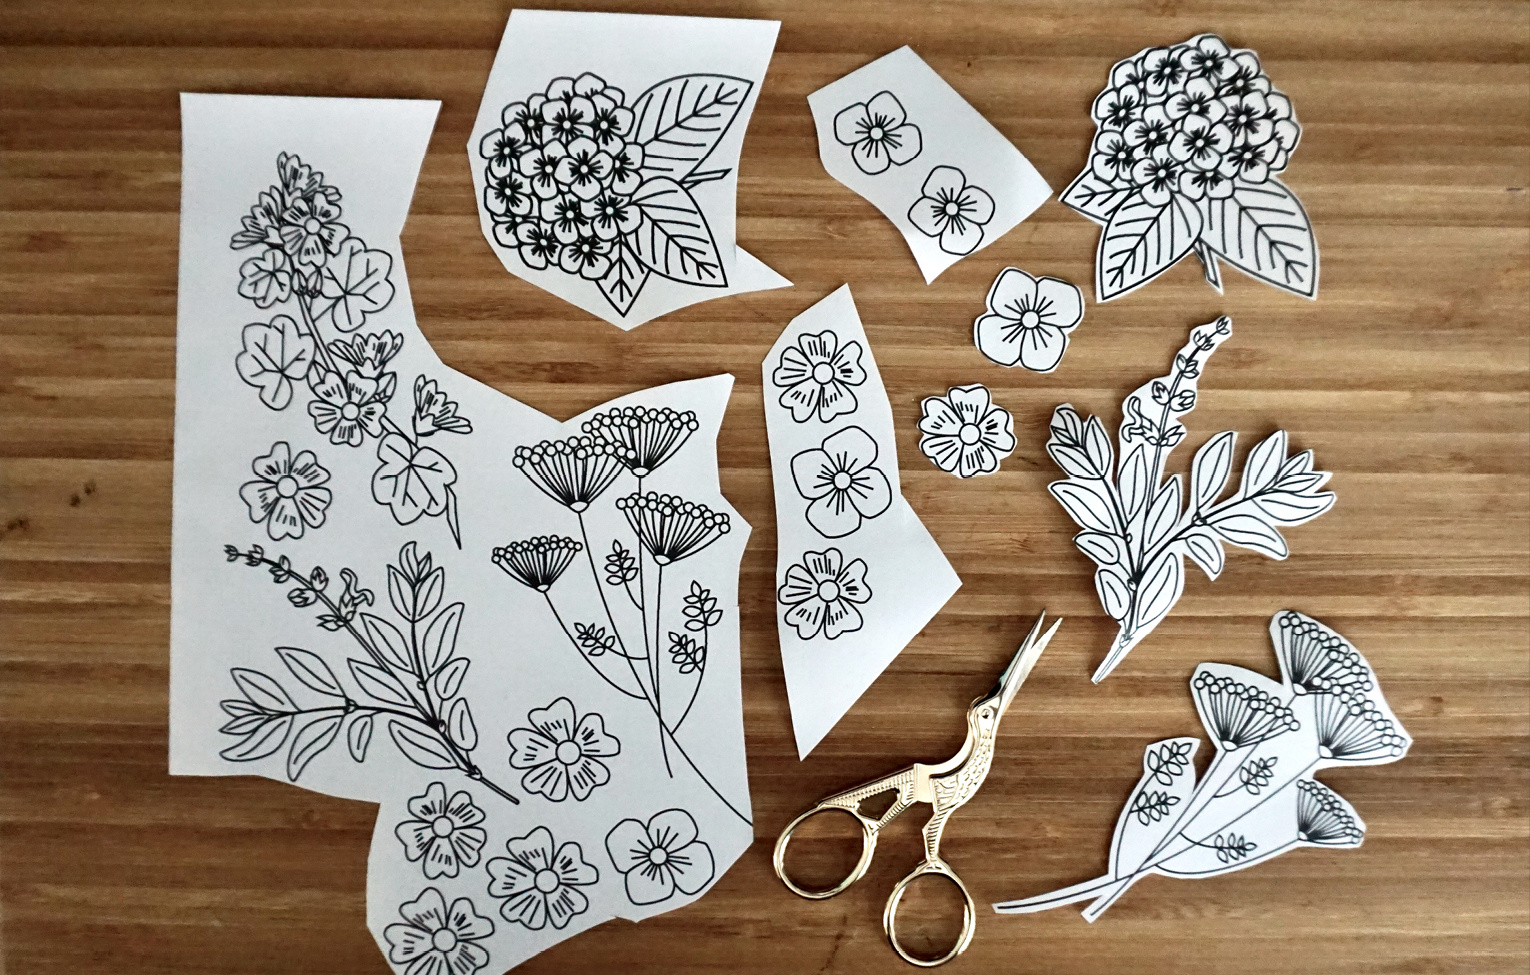
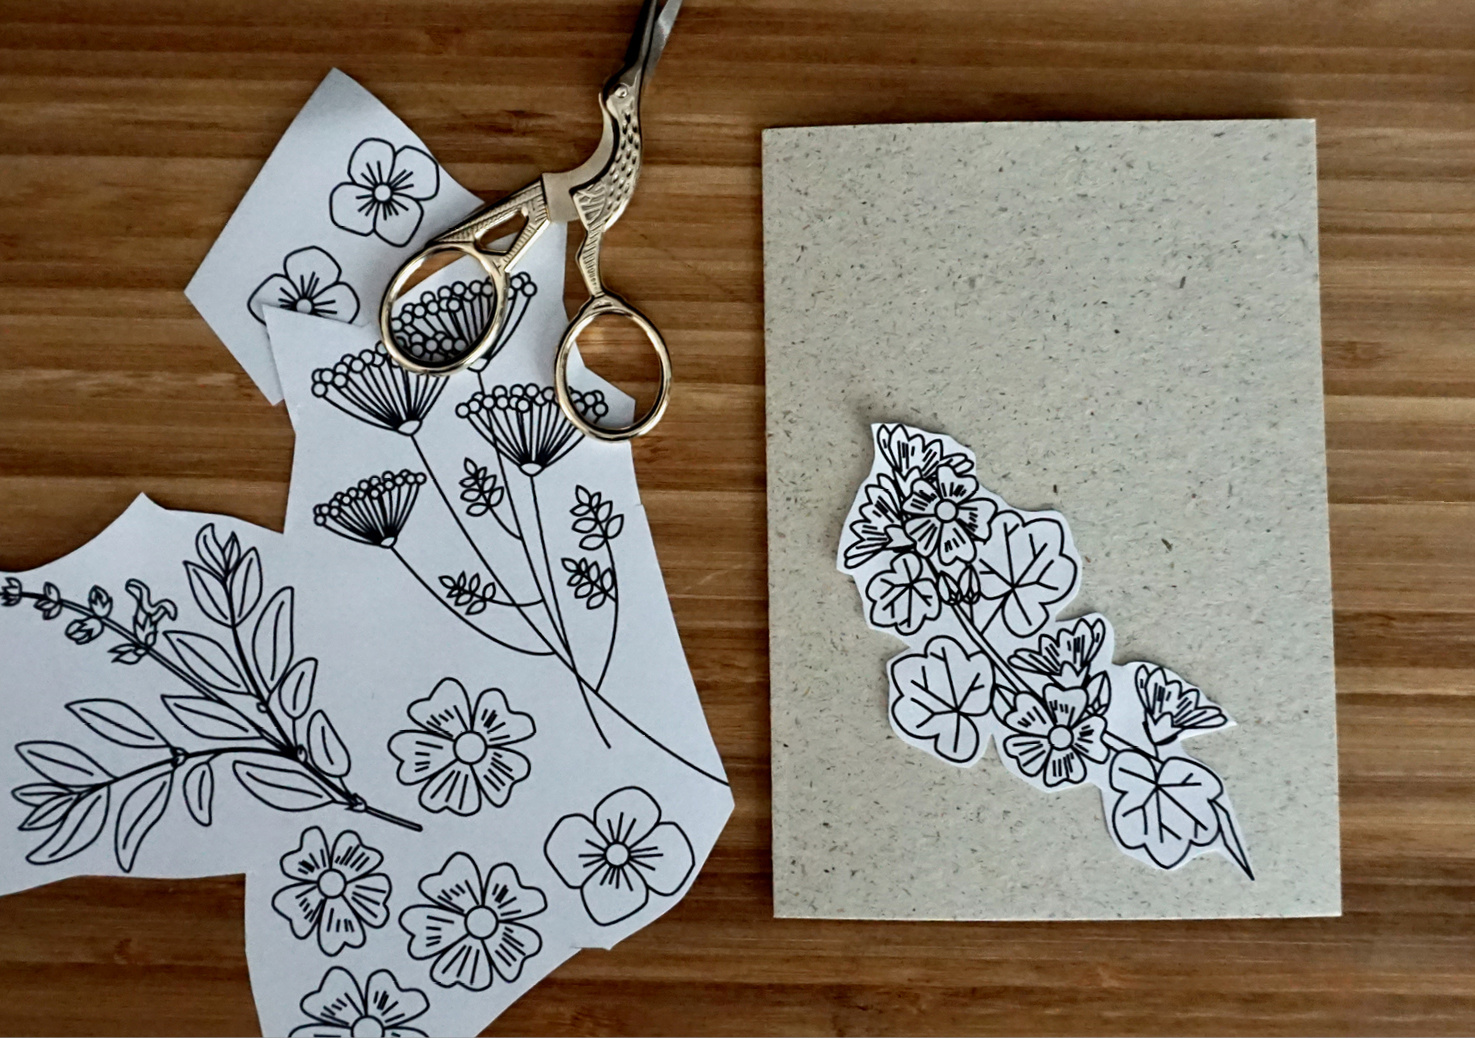
2 Cut out the flowers. It's recommended to first roughly cut out the individual images and then use a smaller pair of scissors to carefully trim them.

3 Take the cut-out spiral and turn it so that the back side is facing up. Apply glue to the outer end (see the marked area in the image). Instead, you can also use a glue dot here.

4 Place the card open in front of you and glue the spiral in the center of the right inner side of the card.
5 Now, apply glue to the inner end of the spiral (see the marked area in the image).
6 Then, fold the card shut. Press the glued areas firmly together with your fingers.
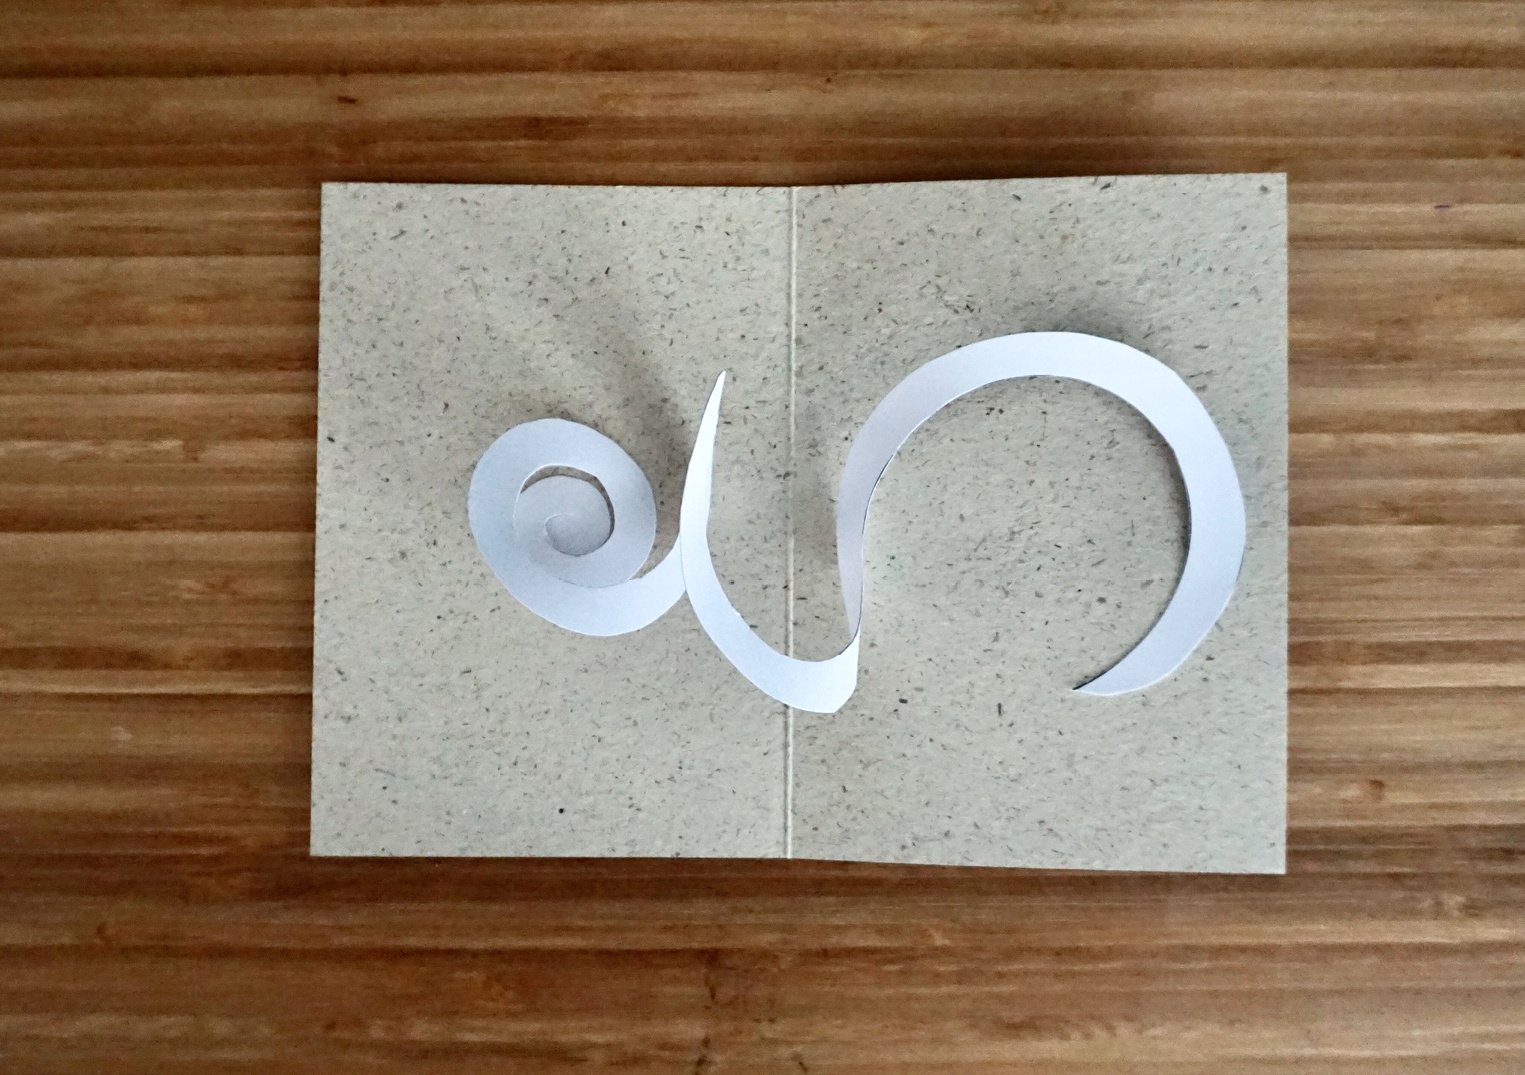
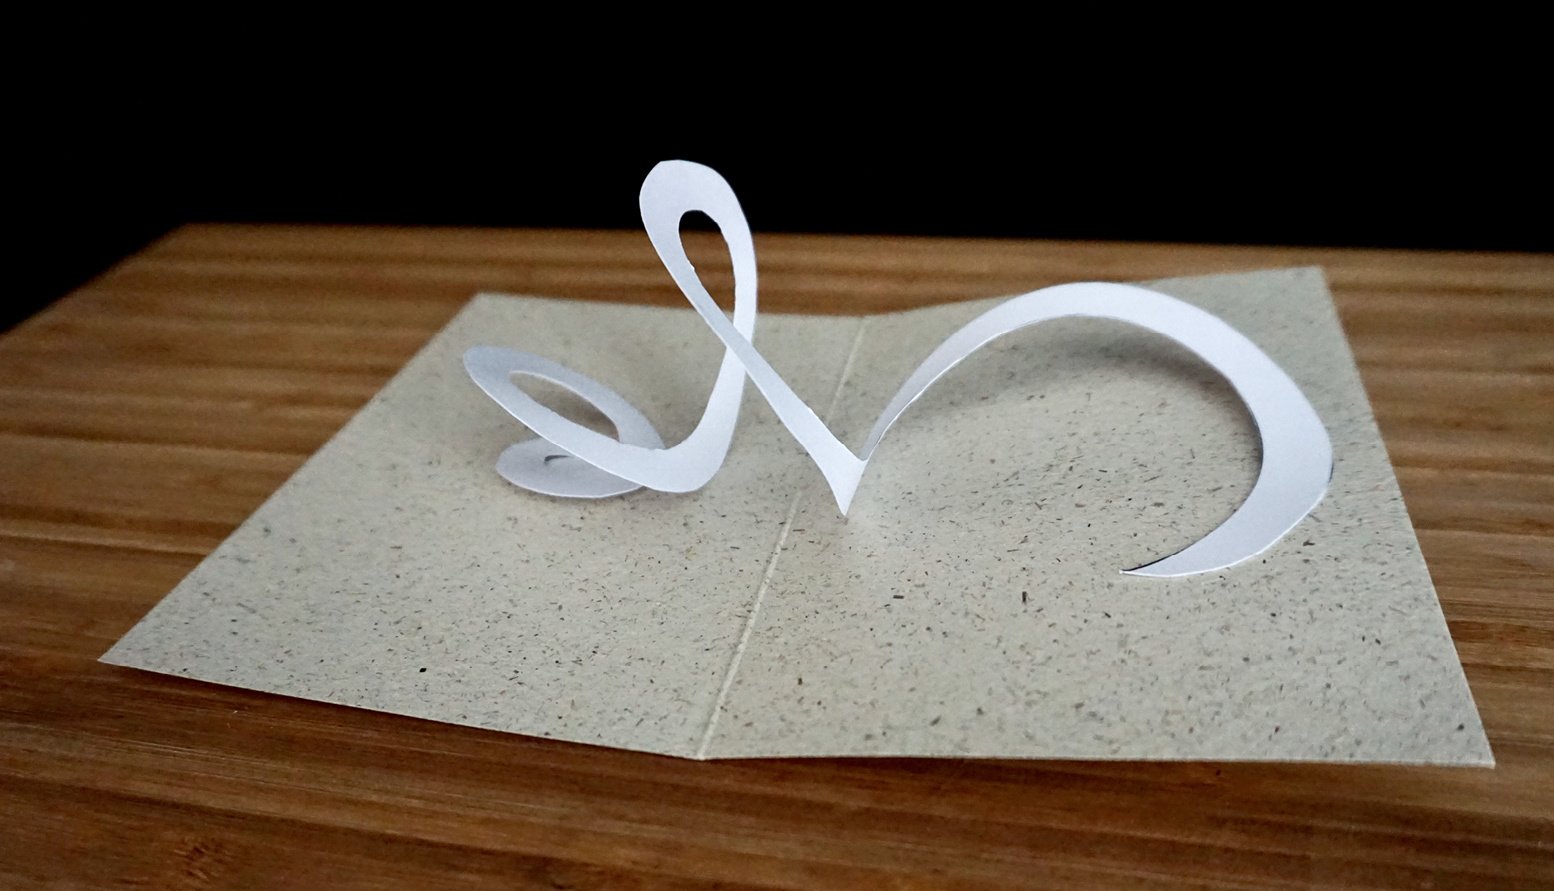
7 Unfold the card again. The spiral is now fixed on both inner sides of the card.

8 Now glue the flowers onto the spiral. It's best to apply the glue to the spiral and then stick the flower onto it.
You can glue the flowers wherever you like. But please make sure the flowers don't protrude from the card (unless that's what you want!).
Tip: After gluing each flower, close the card to see if it's sticking out. If that's not what you want, you'll have to move the flower along the spiral. You can also see when closing the card whether the card still closes properly or if individual flower images are snagging.
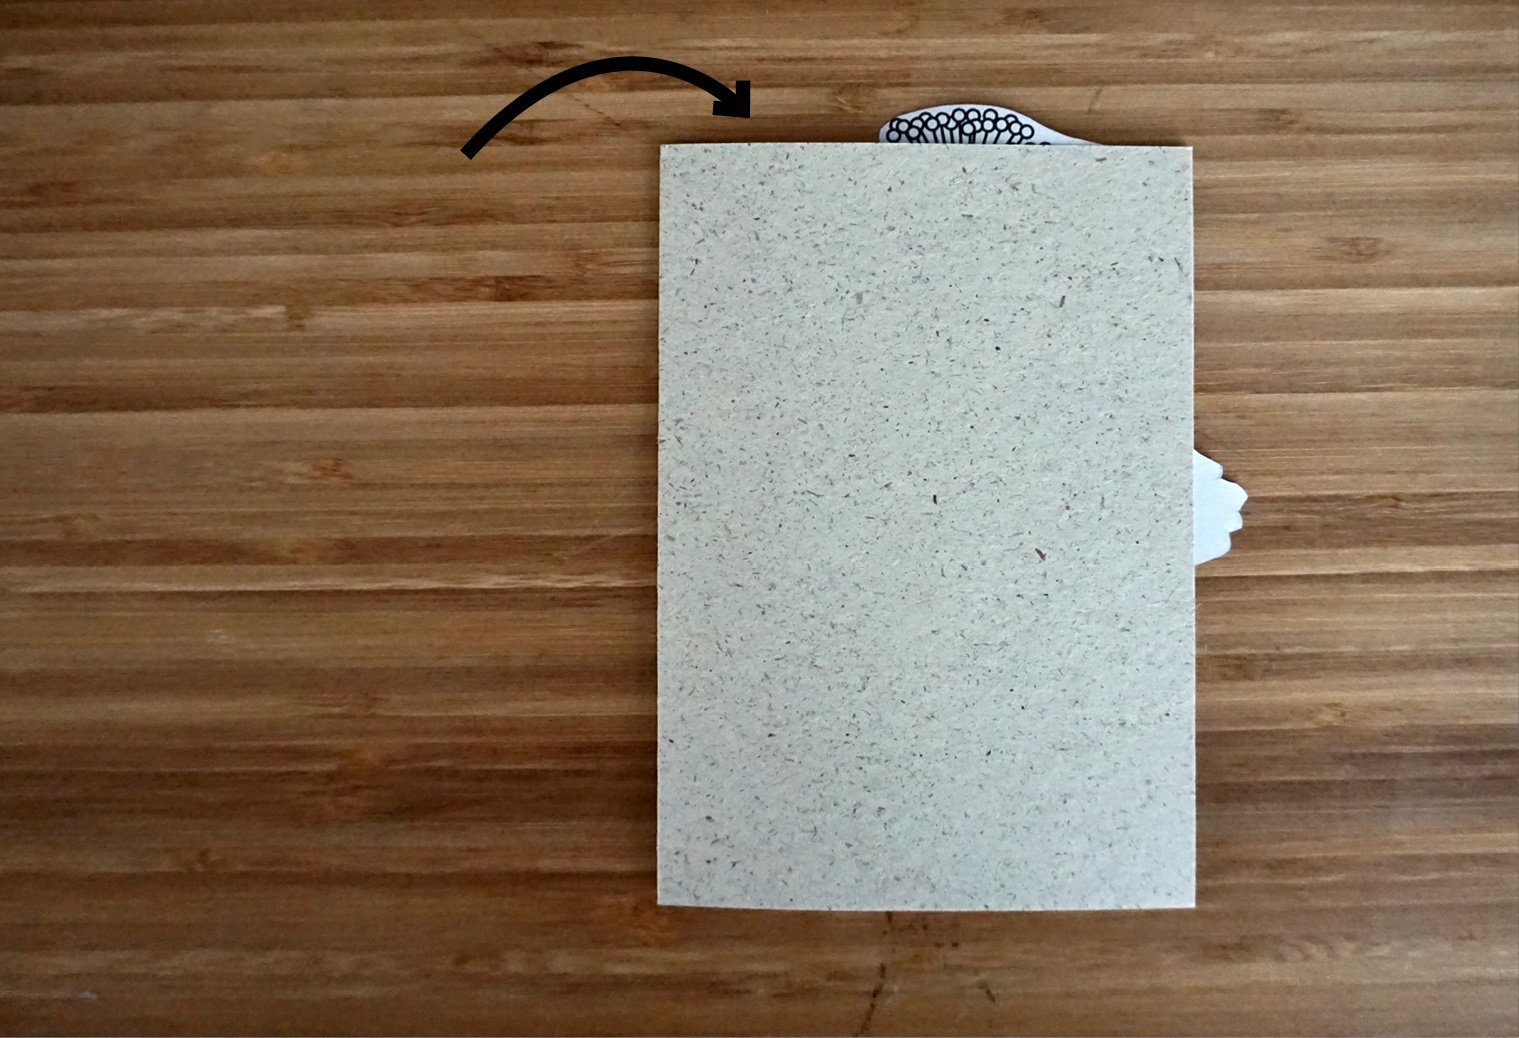
11 Decorate your card as you like. You can also glue pictures directly onto the card.
The card can also be decorated on the outside.

Your pop-up card is ready!
Ideas for your very own pop-up cards
> You can also print the templates on colored paper.
> The flowers can be colored. Even children can do this! For small children, I recommend letting them color the template first before cutting out the flowers.
> Draw your own pictures or lettering, which you then attach to the spiral.
> Cut out shapes from colored paper.
> Use pictures from old books.

With star-shaped punches, you can quickly and easily create a fantastic Christmas card!
You can find star punches in various sizes here.

Here you can download a free printable for bats! (For private use only).
Tipp: Never use glue stick on black paper! It leaves nasty stains. Use glue dots or double sided tape instead.
Watch how I made the halloween card on YouTube or Instagram!
♥ Have you made your own pop-up card? Feel free to share pictures of it on Instagram and mention @miom_studio so I can see it and share your post! ♥
Feel free to follow me for more craft ideas:
Instagram Facebook Pinterest Youtube
Comments
Be the first to comment...