DIY Gift Tags

Hier geht's zum ARTIKEL AUF DEUTSCH
DIY Gift Tags
DIY paper tags are simple and great. You can use them for so many things - gift tags, party favors, cards, buffets, place cards, price tags, etc. - and there are so many ways to decorate them. Get inspired and then create your very own little work of art!
Free printable
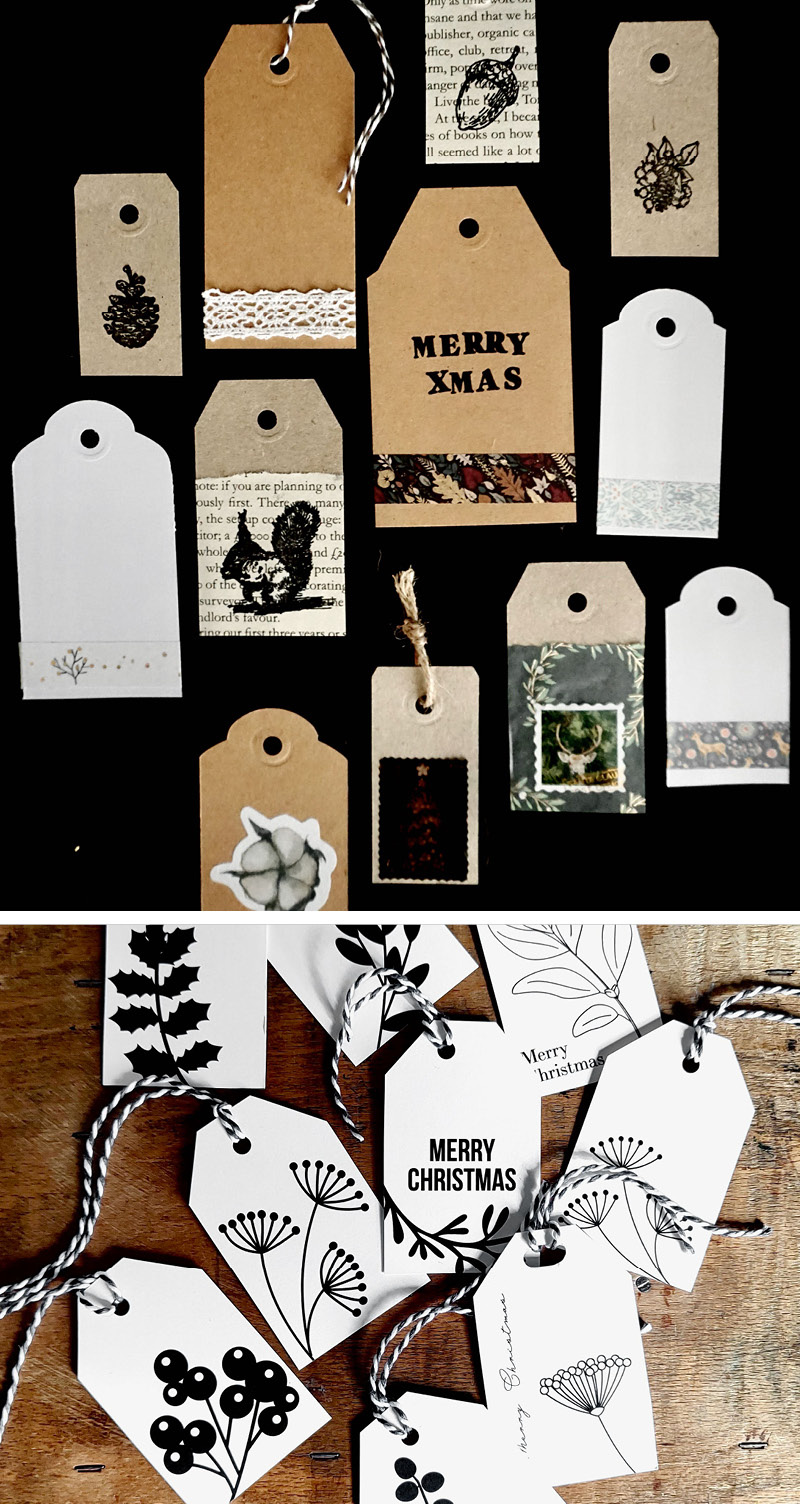
For you to say thank you for 25 000 followers on Instagram, Autumn 2023: a set of christmal gift tags as pictured above. Please feel free to download, cut out and use .
Free download (.pdf) (for private use only)
How to make a tag
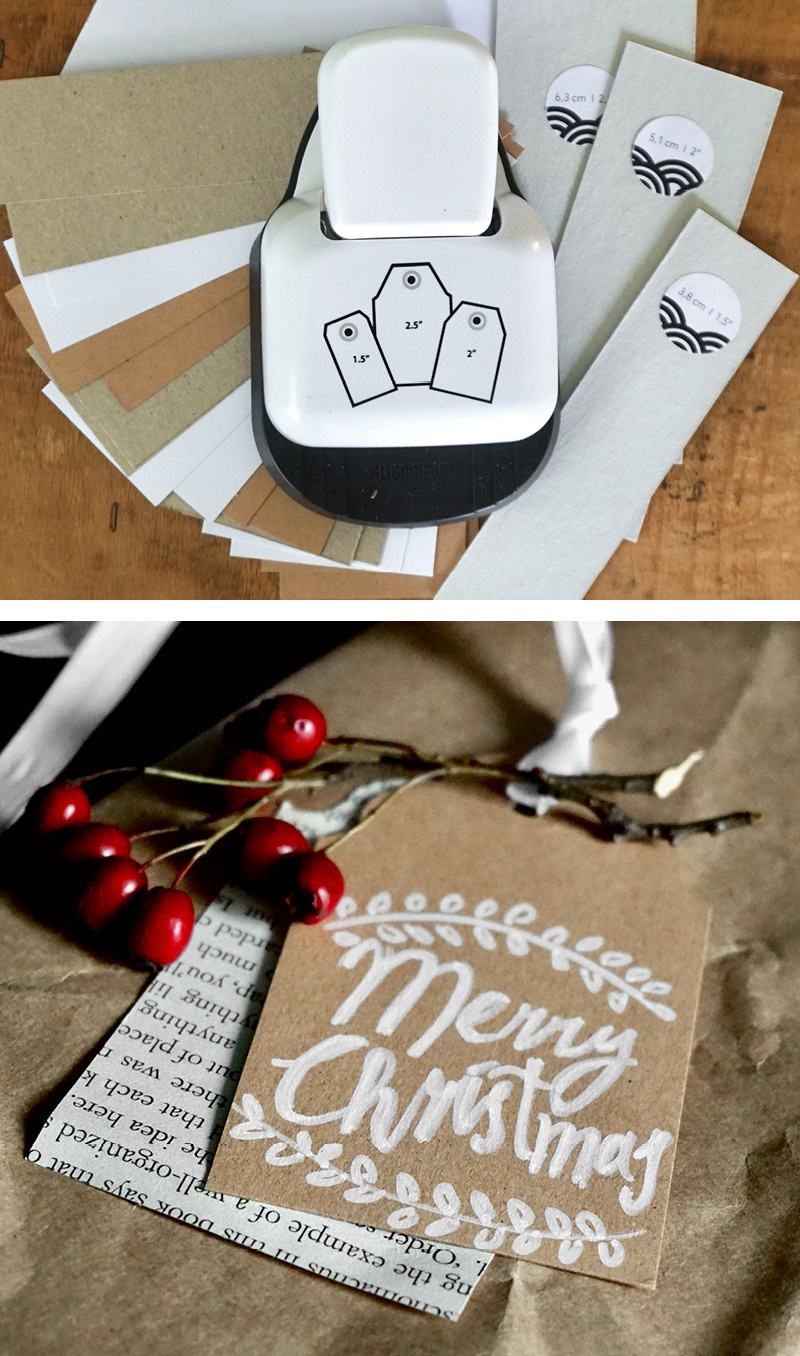
You can buy blank tags ready-made and then decorate them yourself. If you plan to make a lot of tags or you want special paper for your tags, you may want to purchase your own punch.
> Label Punche
My DIY Gift Tag Kit
The DIY Tag Kit includes everything you need to start creating your own tags: a label punch, templates, pre-cut paper strips, an instruction guide, and baker’s twine.
Gift Tags
A true classic. But please – don’t just write the recipient’s name on them! There are so many simple and creative ways to make your tags more personal. I, for example, love using stamps to decorate them. You can also add washi tape or lace ribbon. Let yourself be inspired!
My tip: Layer two tags made of different papers. They don’t even have to be the same size. Using vellum (tracing paper) on top creates an especially beautiful effect.

Tags for Labeling
Tags for the buffet: so your guests know what’s on offer.
Tags on homemade preserves: a lovely alternative to stickers.
Tags can also be used as price labels, cloakroom tags, and much more.

Crafting Tags with Kids
My kids had so much fun decorating the tags! It’s a great way to make use of leftover paper. Even the little ones can join in by coloring, while older children can help with the punching.
Tags as Place Cards
Write your guests’ names on the tags and place them directly on the table setting – or simply tie the string loosely around the cutlery or napkin for a charming detail.

That goes with it: Links for you
Follow me for more DIY inspiration:
Comments
Be the first to comment...